
This article is also available in: Português | Español
OpenSpec: fast and simple
Continuing our exploration of tools that apply SDD to the development workflow, OpenSpec is one of the most interesting options for those who want more organization without falling into an overly heavy process.
It acts as a layer between the idea and the implementation: before you start generating code, you create a structured change with a proposal, requirements, design, and tasks. This helps the agent better understand the context and greatly reduces the chance of implementing something ambiguous.
Another strong point is that OpenSpec was designed to work well even in existing projects. In other words, you don’t need to start a project from scratch to adopt the tool.
What you need before installing
Before installing, you must have:
- Node.js 20.19.0 or higher
- A package manager like npm, pnpm, yarn, or bun
- A local project, new or existing
- An AI coding assistant
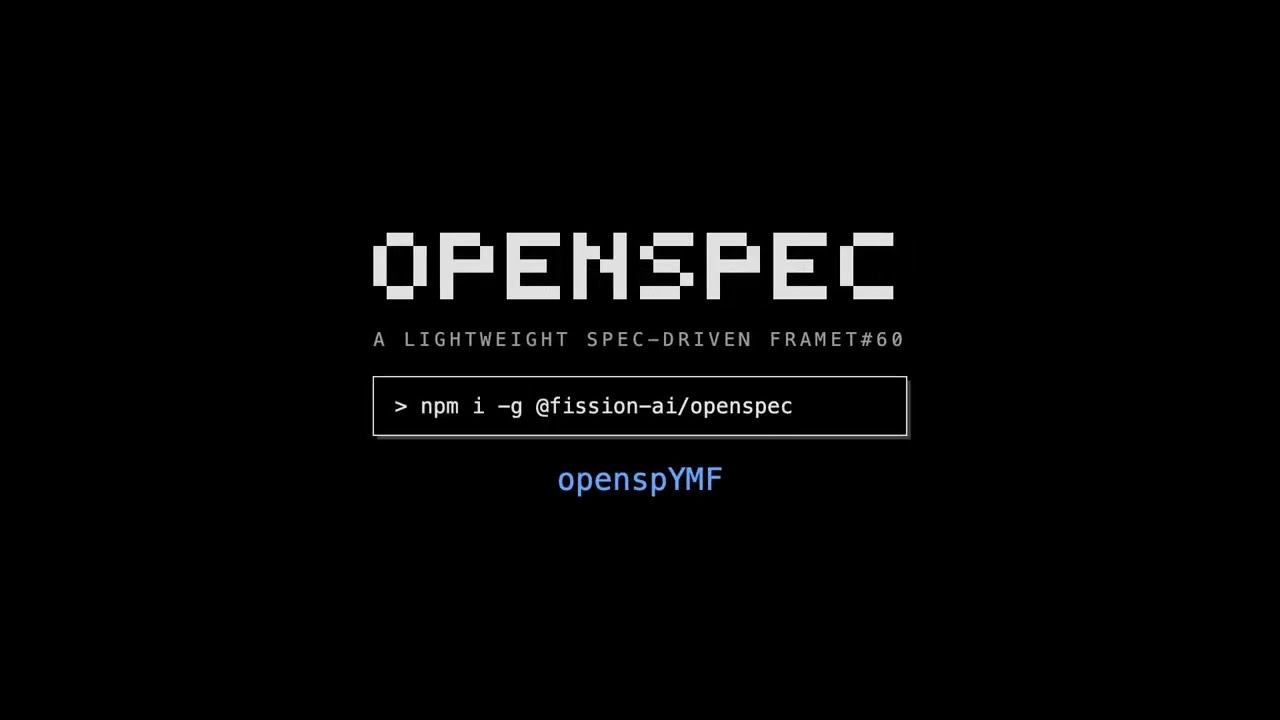
How to install
Installation is done via the OpenSpec CLI:
# npm
npm install -g @fission-ai/openspec@latest
Then, confirm that the command was installed correctly:
openspec --version
How to initialize in the project
Go to your project folder and run:
cd your-project
openspec init
This command sets up OpenSpec within the project. It creates the openspec/ folder, generates configuration files, and also adds instructions for the AI assistant to work with the workflow.
After that, the structure should look something like this:
your-project/
├── openspec/
│   ├── changes/
│   ├── archive/
└── AGENTS.md
When you start a change, OpenSpec begins to generate artifacts such as:
proposal.mdspecs/design.mdtasks.md
What each file does
proposal.md
This is the document that explains what will be changed, why this change exists, and what impact it should have.
specs/
This is where the requirements and expected scenarios live. The focus here is to make it clear how the system should behave.
design.md
Shows the technical approach of the solution. It may include UI structure, state management, models, trade-offs, and architectural decisions.
tasks.md
This is the breakdown of the implementation into smaller tasks. This greatly helps the agent execute the change in a progressive and trackable way.
How to use it in your daily workflow
/opsx-explore
Use this when the idea is still loose. This command serves to investigate options, clarify requirements, and think things through before formalizing the change.
/opsx-propose
This is the most direct path in the current standard workflow. It creates the change and generates the necessary planning artifacts before implementation.
/opsx-apply
Once the proposal, requirements, design, and tasks are good enough, use this command to move on to the implementation.
/opsx-sync
Serves to synchronize the change’s delta specs with the project’s main specs.
/opsx-archive
When everything is finished, this command archives the change and keeps the history organized within the project.
What makes OpenSpec interesting
OpenSpec is great for those who want speed with a healthy level of documentation. It is lightweight, straightforward, and makes the implementation more explainable without forcing you into a rigid process.
In practice, this works very well in smaller projects or in changes with a well-defined scope, where the goal is to gain clarity quickly and implement right after.
Problems and limits
OpenSpec’s main weakness is exactly what makes it pleasant: its lightweight nature.
Since the process is less bureaucratic, it can also be more open-ended than it should be. If the artifacts are written vaguely, the implementation can inherit that ambiguity.
Because of this, it tends to work best when:
- the requirements are simpler
- the scope is relatively clear
- the project doesn’t require a very high level of governance
When the change is too large, with many architectural impacts or many business rules, it might be better to supplement the workflow with more rules or even consider a more rigid approach.